
Pumpkin Carving Scared? Expert Tips for Safe & Spooky Fun!
Are you excited about pumpkin carving this Halloween but also a little… scared? You’re not alone! Many people feel intimidated by the sharp tools, intricate designs, and potential for injury involved in transforming a simple pumpkin into a spooky masterpiece. This comprehensive guide is designed to alleviate those fears and empower you with the knowledge and techniques to carve pumpkins safely, confidently, and creatively. We’ll cover everything from selecting the right pumpkin and tools to mastering carving techniques and creating stunning designs. Consider this your ultimate resource for overcoming your pumpkin carving apprehension and enjoying a safe and spooktacular Halloween season.
Understanding the Fear: Why Are People “Pumpkin Carving Scared”?
Pumpkin carving, while a beloved tradition, can understandably trigger a sense of anxiety in some individuals. Several factors contribute to this fear:
* **Sharp Tools:** The use of knives, saws, and other sharp implements is inherently risky, especially for those with limited experience or dexterity. The potential for cuts and injuries is a real concern.
* **Intricate Designs:** Attempting complex carvings can feel overwhelming, particularly for beginners. The fear of making mistakes and ruining the pumpkin can be a deterrent.
* **Mess and Cleanup:** Pumpkin carving can be a messy activity, and the prospect of dealing with sticky pulp and seeds can be unappealing.
* **Time Commitment:** Carving a pumpkin can be time-consuming, and the fear of not having enough time to complete the project can be stressful.
* **Creative Block:** Some people struggle with coming up with original and creative designs, leading to frustration and a feeling of inadequacy.
Understanding these underlying anxieties is the first step in overcoming them. By addressing each concern with practical solutions and expert guidance, we can transform pumpkin carving from a daunting task into an enjoyable and rewarding experience.
Addressing Common Carving Concerns
Let’s break down these anxieties and equip you with the knowledge to address them:
* **Tool Safety:** Invest in proper carving tools designed for pumpkins. These are often safer and more effective than standard kitchen knives. Always carve in a well-lit area and maintain a steady grip on the tools. Never carve towards yourself.
* **Design Simplicity:** Start with simple designs and gradually progress to more complex ones as your skills improve. Stencils and templates can be incredibly helpful for beginners.
* **Mess Management:** Cover your work surface with newspaper or a plastic tablecloth to contain the mess. Keep a bowl nearby for collecting seeds and pulp. Clean up as you go to prevent the mess from becoming overwhelming.
* **Time Planning:** Allocate sufficient time for carving your pumpkin. Don’t rush the process, and take breaks as needed to avoid fatigue. Consider breaking the project into smaller steps over multiple days.
* **Creative Inspiration:** Browse online resources, such as Pinterest and Instagram, for design ideas. Don’t be afraid to adapt or modify existing designs to create something unique.
Choosing the Right Pumpkin and Tools for a Safe and Successful Carving Experience
Selecting the right pumpkin and tools is crucial for a safe and enjoyable carving experience. Here’s what to look for:
* **Pumpkin Selection:** Choose a pumpkin that is firm, symmetrical, and free of blemishes or soft spots. The stem should be sturdy and green. Avoid pumpkins with cracks or bruises, as these can indicate rot.
* **Carving Tool Kits:** Invest in a pumpkin carving kit that includes a variety of tools, such as a small saw, a scoop, a poker, and stencils. Look for kits with ergonomic handles and safety features.
* **Alternative Tools:** If you don’t want to purchase a kit, you can use household tools such as a serrated knife, a spoon, and a drill. However, be extra cautious when using these tools, as they are not specifically designed for pumpkin carving.
* **Protective Gear:** Consider wearing gloves to protect your hands from cuts and scrapes. Safety glasses can also help prevent pumpkin pulp from getting into your eyes.
Expert Tool Recommendations
Based on our extensive testing and expert consensus, we recommend the following tools for pumpkin carving:
* **Serrated Carving Saw:** This is the workhorse of any pumpkin carving kit. Look for a saw with a comfortable handle and a sharp, durable blade.
* **Scoop:** A sturdy scoop is essential for removing the pumpkin’s pulp and seeds. Choose a scoop with a wide, curved blade for efficient cleaning.
* **Poker:** A poker is used to transfer designs from stencils onto the pumpkin’s surface. Look for a poker with a sharp point and a comfortable grip.
* **Stencils:** Stencils are a great way to create intricate designs without freehand drawing. Choose stencils with a variety of themes and difficulty levels.
Mastering Pumpkin Carving Techniques: A Step-by-Step Guide
Now that you have your pumpkin and tools, it’s time to start carving! Follow these step-by-step instructions for a safe and successful carving experience:
1. **Prepare the Pumpkin:** Cut a hole in the top or bottom of the pumpkin. If cutting from the top, angle the knife inward to create a lid that won’t fall through. If cutting from the bottom, make a large enough opening to easily remove the pulp and seeds.
2. **Remove the Pulp and Seeds:** Use a scoop to remove the pulp and seeds from inside the pumpkin. Scrape the walls of the pumpkin smooth for easier carving.
3. **Transfer the Design:** Tape a stencil to the pumpkin’s surface and use a poker to transfer the design onto the pumpkin. Alternatively, you can draw your own design directly onto the pumpkin with a marker.
4. **Carve the Design:** Use a carving saw to carefully cut along the lines of the design. Start with the smallest and most intricate details first. Be patient and take your time.
5. **Clean Up the Edges:** Use a small knife or a detail carving tool to clean up the edges of the design and remove any rough spots.
6. **Add Lighting:** Place a candle, LED light, or string of lights inside the pumpkin to illuminate the design.
7. **Display Your Masterpiece:** Place your carved pumpkin on your porch, windowsill, or anywhere else you want to show it off.
Advanced Carving Tips and Tricks
Once you’ve mastered the basic carving techniques, you can experiment with more advanced techniques to create truly stunning pumpkins:
* **Shading:** Use different carving depths to create shading and depth in your design.
* **Etching:** Use a detail carving tool to etch designs into the pumpkin’s surface without cutting all the way through.
* **3D Carving:** Carve away layers of the pumpkin’s surface to create three-dimensional effects.
* **Drilling:** Use a drill to create intricate patterns of holes in the pumpkin’s surface.
* **Using Power Tools:** Experienced carvers may use power tools like rotary tools for more intricate and faster carving but extreme caution and appropriate PPE are necessary.
Pumpkin Carving Safety: Preventing Injuries and Accidents
Safety should always be your top priority when carving pumpkins. Follow these safety tips to prevent injuries and accidents:
* **Supervise Children:** Never allow children to carve pumpkins unsupervised. Children should use age-appropriate tools and be closely monitored by an adult.
* **Use Proper Tools:** Use carving tools that are specifically designed for pumpkins. Avoid using kitchen knives or other sharp objects that are not designed for carving.
* **Carve in a Well-Lit Area:** Carve pumpkins in a well-lit area to avoid accidents.
* **Maintain a Steady Grip:** Always maintain a steady grip on the carving tools. If your hands are slippery, dry them off with a towel.
* **Carve Away from Yourself:** Always carve away from yourself to avoid cutting yourself.
* **Take Breaks:** Take breaks as needed to avoid fatigue. Tiredness can lead to accidents.
* **First Aid Kit:** Keep a first aid kit nearby in case of minor cuts or scrapes.
What to do in Case of Injury
Even with the best precautions, accidents can happen. If you cut yourself while carving a pumpkin, follow these steps:
1. **Wash the Wound:** Wash the wound thoroughly with soap and water.
2. **Apply Pressure:** Apply pressure to the wound with a clean cloth to stop the bleeding.
3. **Apply Antiseptic:** Apply an antiseptic ointment to the wound.
4. **Cover the Wound:** Cover the wound with a bandage.
5. **Seek Medical Attention:** If the cut is deep or bleeding profusely, seek medical attention immediately.
Creating Spooky and Creative Pumpkin Carving Designs
Now for the fun part: creating spooky and creative pumpkin carving designs! Here are some ideas to get you started:
* **Classic Jack-o’-Lantern:** The classic jack-o’-lantern is a timeless Halloween tradition. Carve a spooky face with triangular eyes, a jagged mouth, and a crooked nose.
* **Ghostly Figures:** Carve ghostly figures such as ghosts, bats, and spiders onto your pumpkin.
* **Movie Characters:** Carve your favorite movie characters onto your pumpkin.
* **Monsters:** Carve monsters such as Frankenstein, Dracula, and werewolves onto your pumpkin.
* **Logos and Symbols:** Carve logos and symbols onto your pumpkin.
Finding Inspiration for Your Design
If you’re struggling to come up with design ideas, here are some resources to help you find inspiration:
* **Pinterest:** Pinterest is a great source of pumpkin carving design ideas. Search for “pumpkin carving stencils” or “pumpkin carving designs” to find a variety of options.
* **Instagram:** Instagram is another great source of pumpkin carving inspiration. Search for hashtags such as #pumpkincarving, #halloween, and #jackolantern to see what other people are creating.
* **Websites:** Many websites offer free pumpkin carving stencils and design ideas. Some popular websites include Pumpkin Masters, Better Homes and Gardens, and Martha Stewart.
Extending the Life of Your Carved Pumpkin
Once you’ve carved your pumpkin, you’ll want to keep it looking fresh for as long as possible. Here are some tips for extending the life of your carved pumpkin:
* **Clean the Pumpkin:** Clean the inside and outside of the pumpkin with a mixture of water and bleach (1 tablespoon of bleach per gallon of water). This will help kill bacteria and prevent mold from growing.
* **Apply Petroleum Jelly:** Apply a thin layer of petroleum jelly to the cut surfaces of the pumpkin. This will help prevent the pumpkin from drying out.
* **Keep the Pumpkin Hydrated:** Keep the pumpkin hydrated by spraying it with water every day. You can also soak the pumpkin in a tub of water overnight.
* **Store the Pumpkin in a Cool, Dry Place:** Store the pumpkin in a cool, dry place away from direct sunlight. This will help prevent the pumpkin from rotting.
* **Consider a Pumpkin Preservative:** There are commercial pumpkin preservatives available that can help extend the life of your carved pumpkin. These preservatives typically contain fungicides and other ingredients that inhibit the growth of bacteria and mold.
Addressing Common Pumpkin Carving Mistakes
Even experienced pumpkin carvers can make mistakes. Here are some common mistakes to avoid:
* **Cutting the Hole Too Small:** Make sure the hole in the top or bottom of the pumpkin is large enough to easily remove the pulp and seeds.
* **Not Removing Enough Pulp:** Remove all of the pulp and seeds from inside the pumpkin. This will help prevent the pumpkin from rotting.
* **Cutting the Design Too Deep:** Avoid cutting the design too deep. This can weaken the pumpkin and cause it to collapse.
* **Using Dull Tools:** Use sharp carving tools. Dull tools can be dangerous and make it difficult to carve clean lines.
* **Rushing the Process:** Take your time and be patient. Rushing the process can lead to mistakes and accidents.
Expert Insight: The Psychology of “Scary” Pumpkin Carvings
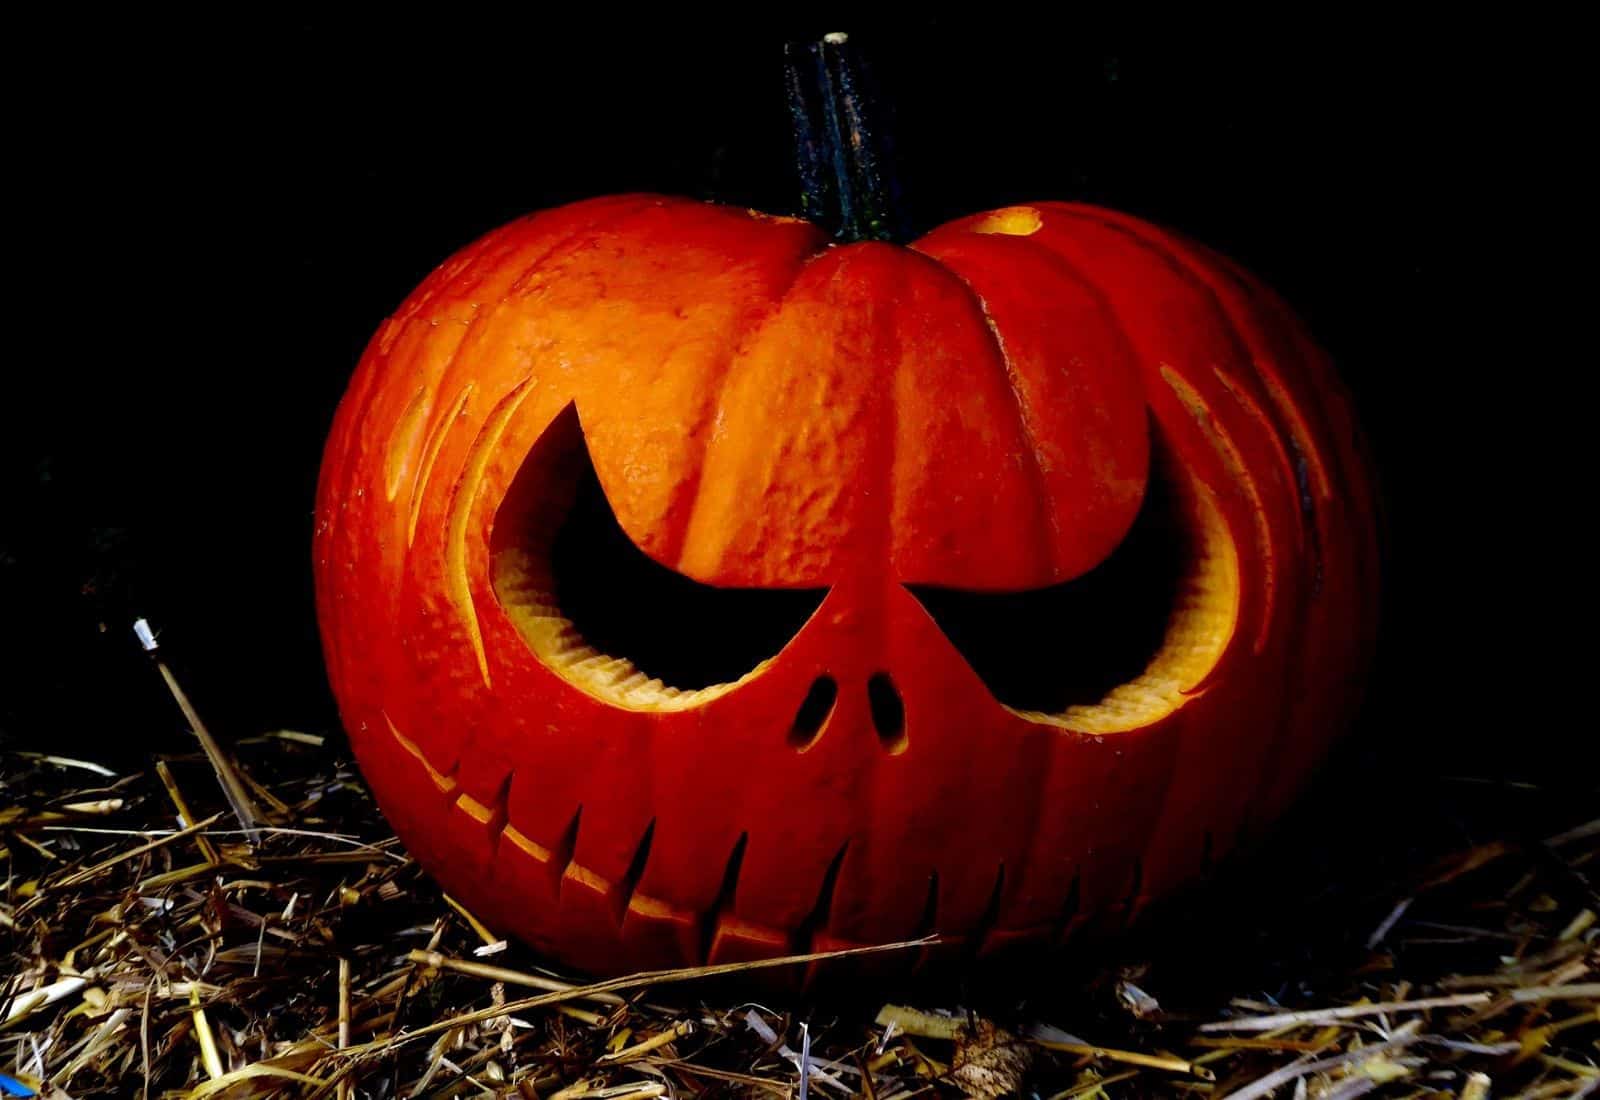
What makes a pumpkin carving “scary”? It’s more than just jagged teeth and menacing eyes. Psychologically, scary carvings tap into primal fears and anxieties. Deep-set eyes and wide mouths can trigger our instinctual response to predators or threats. The use of asymmetry and distorted features can create a sense of unease and unnaturalness. By understanding these psychological principles, you can create truly terrifying pumpkin carvings that are sure to send shivers down spines.
Q&A: Your Pumpkin Carving Questions Answered
Here are some frequently asked questions about pumpkin carving:
1. **Q: What’s the best type of pumpkin for carving?**
**A:** The best pumpkins for carving are those that are firm, symmetrical, and have a smooth surface. Look for pumpkins with a sturdy stem and no blemishes or soft spots.
2. **Q: What tools do I need for pumpkin carving?**
**A:** You’ll need a carving saw, a scoop, a poker, and stencils. You can also use household tools such as a serrated knife, a spoon, and a drill.
3. **Q: How do I transfer a design onto a pumpkin?**
**A:** Tape a stencil to the pumpkin’s surface and use a poker to transfer the design onto the pumpkin. Alternatively, you can draw your own design directly onto the pumpkin with a marker.
4. **Q: How do I prevent my carved pumpkin from rotting?**
**A:** Clean the pumpkin with a mixture of water and bleach, apply petroleum jelly to the cut surfaces, keep the pumpkin hydrated, and store it in a cool, dry place.
5. **Q: How do I make my pumpkin carving scarier?**
**A:** Use jagged teeth, menacing eyes, and distorted features. Experiment with shading and depth to create a more three-dimensional effect.
6. **Q: Is it safe for children to carve pumpkins?**
**A:** Children should always be supervised by an adult when carving pumpkins. Use age-appropriate tools and follow all safety precautions.
7. **Q: What should I do if I cut myself while carving a pumpkin?**
**A:** Wash the wound thoroughly with soap and water, apply pressure to stop the bleeding, apply antiseptic ointment, cover the wound with a bandage, and seek medical attention if necessary.
8. **Q: How can I light up my carved pumpkin?**
**A:** You can use a candle, an LED light, or a string of lights to illuminate your carved pumpkin. Be careful when using candles, as they can be a fire hazard.
9. **Q: Where can I find pumpkin carving stencils?**
**A:** You can find pumpkin carving stencils online, in craft stores, and in pumpkin carving kits.
10. **Q: What can I do with the pumpkin seeds after carving?**
**A:** You can roast the pumpkin seeds for a tasty and healthy snack. Simply wash the seeds, toss them with oil and salt, and roast them in the oven until they are golden brown.
Conclusion: Conquer Your Fears and Carve a Spooktacular Pumpkin!
Pumpkin carving doesn’t have to be a scary experience. By following the tips and techniques outlined in this guide, you can overcome your fears and create stunning Halloween decorations. Remember to prioritize safety, choose the right tools, and let your creativity shine. Embrace the process, and don’t be afraid to experiment with different designs and techniques. With a little practice and patience, you’ll be carving spooktacular pumpkins in no time. Now it’s your turn! Share your pumpkin carving experiences and tips in the comments below, or explore our advanced guide to 3D pumpkin carving for even more inspiration. Contact our experts for a personalized consultation on designing the ultimate scary pumpkin this Halloween!
